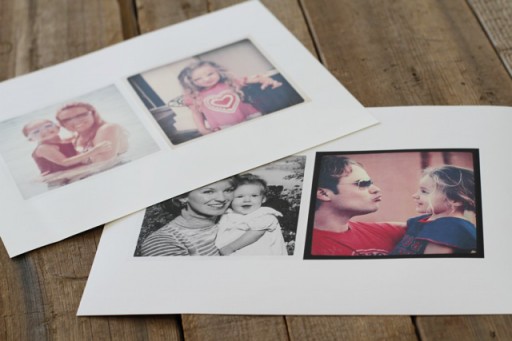
Print out 4.5″ x 4.5″ in size onto transfer paper.
There are various types of transfer paper: use a light version for white and light colored fabrics and opaque transfer paper for dark colored fabrics.
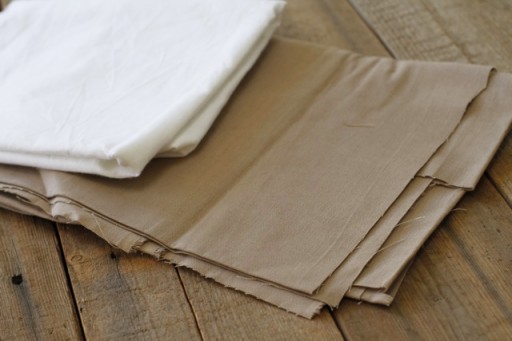
I used a white muslin fabric for the front of the bags and a beige linen-like fabric for the back:
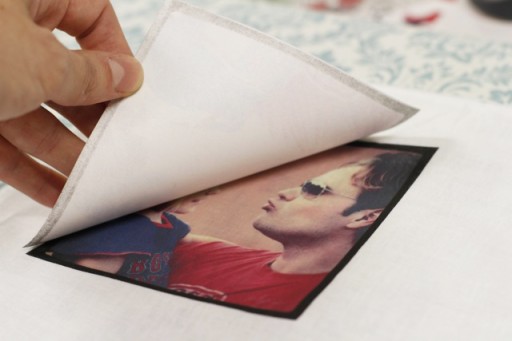
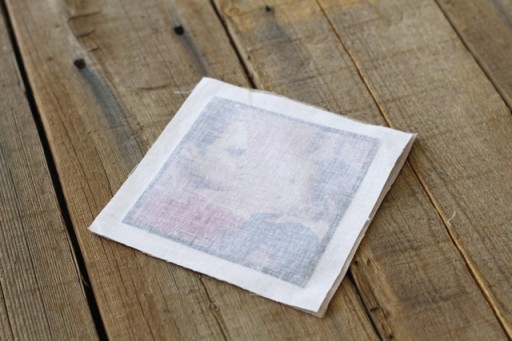
Follow the directions on your transfer paper (directions will vary by brand and kind) to iron the images onto the fabric you plan to use for the front of the bags:
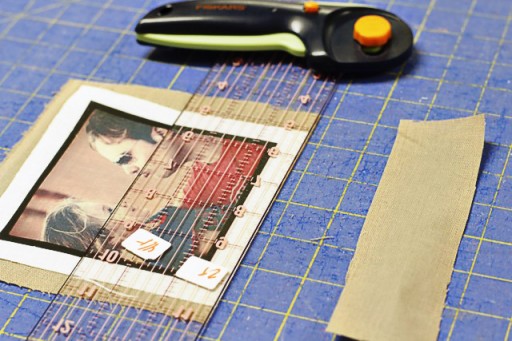
Use a ruler to trim the front piece leaving a 1/2″ border around the image. You can trim the back piece at the same time.
Place the front piece and back piece so that right sides are together:
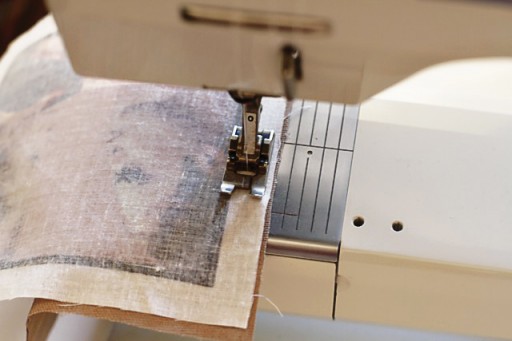
Starting at the side-bottom of the image, sew all the way around the border leaving a 2″ opening so that the bag can be turned inside out:
Turn the bag right side out and carefully iron flat if needed (when ironing make sure to use the protective paper included with your transfer paper if you used opaque kind):
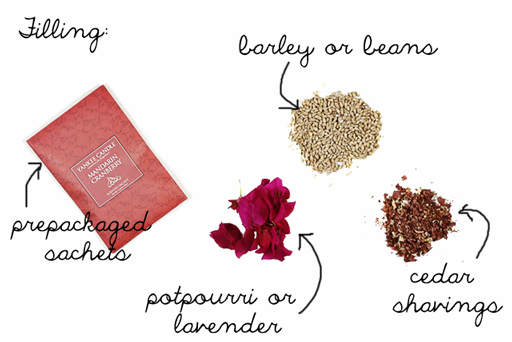
Take your pick of filling.
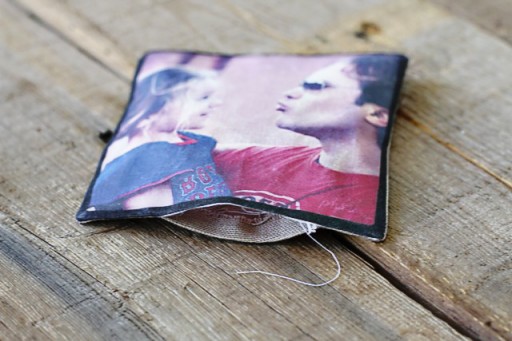
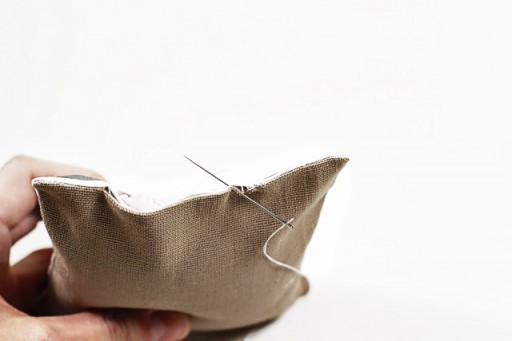
Carefully sew your bag shut with a hidden stitch:
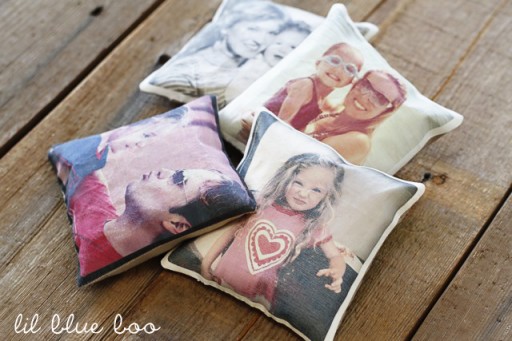
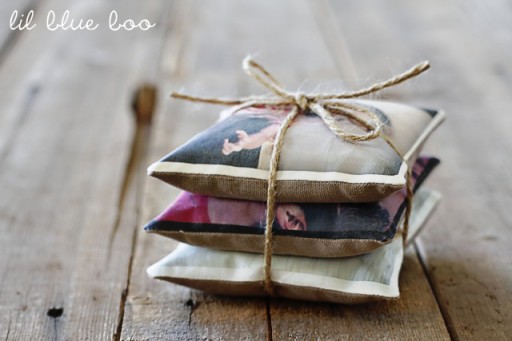
Finished! Great filled with cedar for closets and sweater storage….or potpourri for a lingerie drawer. Make one with the image of each family member on it for a young child to play with…..or maybe with travel photos for your coffee table to remember a trip. Endless possibilities!
Use some twine to tie up the bags for a gift!
Via: http://www.lilblueboo.com/2012/05/instagram-sachets-and-beanbags-a-tutorial.html
No comments:
Post a Comment